Templates
Tools
Learn
Company
Home
Blog
Tutorials
DIY Floral Wedding Invitation Card | Tutorial
DIY Floral Wedding Invitation Card | Tutorial
Floral wedding invitations never go out of style. However, these stationary pieces can be quite pricey due to all the work that goes into their design.
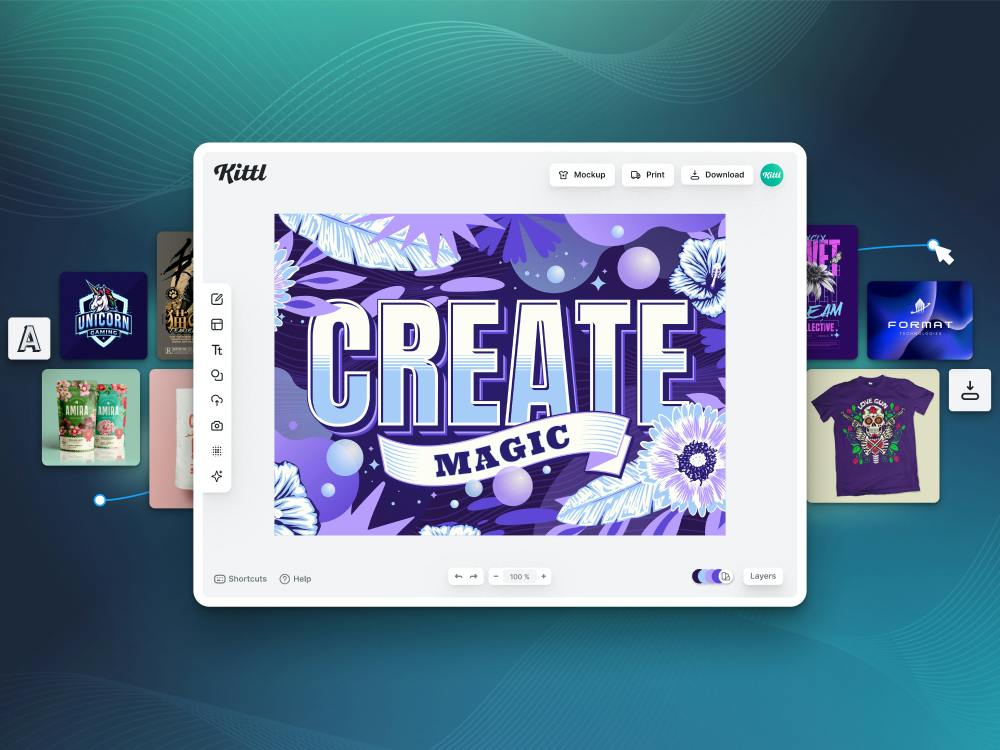
Luckily, you can create a DIY card with a floral theme for free using Kittl. The design platform will allow you to make the perfect card with ease. And, if you follow this tutorial, you’ll have it done in minutes rather than hours.
Getting started with Kittl is easy. If you don’t have Kittl yet, grab it on the official site and start following along. And if you want to create other designs just as quickly, there are many graphic design tutorials that will help you do just that.
1. Check Out Card Templates
You can access various templates on Kittl which will make the design even easier. For wedding cards, type “wedding” in the search box – there’ll be Save The Date Wedding Card, Vintage Wedding Invitations, and much more.
However, we won’t use a template in this tutorial. Instead, we’ll show you how to design a floral wedding invitation card from scratch. But even if you don’t use a template as the foundation for your design, you can get inspiration from them.

2. Set Up Your Artboard
We’ll use a custom artboard size for this project. To do that, create a new Kittl design and go to “Settings,” the first icon in the top right.
You may choose inches or pixels for the dimensions. We went with pixels and set the canvas to 1,500 by 2,048.

If you need to create intricate, detailed designs, you can enable the grid in the “Settings” menu. The grid will help you pinpoint the element positioning.
3. Add Info Text
Our design will be based on the text, so we’ll insert that element first.
Go to the “Add Text” menu or hit “T” on your keyboard to insert text. Once the default text box appears, you can edit everything, from the words to the font and effects.
We picked the Lora font, scaled down the text box, and typed in: “Kindly join us for” in all caps to start the invitation. Then, we increased the letter spacing and applied the “Circle” effect from the right sidebar.
Next, we inserted a second text box. Here, we used a script font and wrote: “the wedding of” underneath the first half of the phrase.
To wrap up the text, we used the Mogan font to write the names – Alexandra and Robert. While the lettering already looks really nice, we can make it even better with a special trick from Kittl.

Hold Alt and drag any element to copy and paste it immediately.
4. Stylize Your Text With Glyphs
Glyphs are special characters that you can find in certain fonts in Kittl. You can bring up the glyph menu from “Text Settings” by clicking on the stylized “A.” In fact, the first stylized letter we’ll insert will be precisely that – A.
Delete the first “A” in “Alexandra” and open the glyphs menu. Type in “a” in the search box to view different variants of the glyph – we chose the third one from the left in the top row. Click on the glyph to insert it.
Repeat the same process for several other letters. The trick is to space out the glyphs – don’t replace every letter with flourishes. We inserted corresponding glyphs for “n” in “Alexandra” and “R” in “Robert.”
After inserting the glyphs, we wrapped up the text by adding the wedding date.

5. Create a Custom Frame
You can emphasize the text even more with a simple frame. To do this, go to “Add Elements” and choose a line from “Basic Shapes.”
Use the lines to frame a particular part of the text. We did it for the wedding date and then we inserted the wedding address below using Lora – a variable font in Kittl that allows you to increase or decrease its thickness without losing the balance or spacing of the letters.

6. Tweak the Background Color
Changing colors in Kittl is very easy. When you deselect everything on your canvas, you’ll see the “Background Settings” menu. Click on the circle under “Background Color” and pick a color from the palette. We went with a dark green to bring up the floral elements.

7. Add Floral Decorations
You’ll find amazing decorative elements under the “Illustrations” tab in the “Add Elements” menu. Scroll down to “Vintage Flowers” to insert the floral decorations for this project.
We placed the decorations as a frame around the text to add aesthetic value and fill the empty space.

8. Check Your Design in Trim View
You’ll notice that a part of the floral element isn’t visible on the artboard. You can toggle the trim view by hitting “W” on your keyboard.
This function may be useful if you wish to see what the entire element looks like and determine if a different portion of it would fit your project better. Anything that’s not visible in the trim view won’t be exported or printed – only what you can see on the canvas.

9. Make Your Card Pop With Texture
Your card will really come alive if you add texture to it. The “Textures” menu on the left side has various options for you to explore.
Choose a texture and you’ll see it applied to the canvas as soon as you click on it. Then, you can adjust the opacity and the method of application – it will be set to “Color Burn” by default.

10. Export the Card Design
Once your design is finalized, you can choose an export option. Pick the preferred format – PNG or JPEG for digital versions or PDF for print – and you can download your card design with ease.

Keep Playing Around With Kittl
If you’ve followed along with this tutorial, your design should be done. However, you can keep exploring Kittl and try different customizations for your project. The powerful features of this design platform will help you pinpoint the exact style you’re looking for.
Floral Wedding Invitation design template in Kittl
Related articles

Tutorials
How to make a modern floral logo
Simple yet elegant, modern floral logos are the perfect way to show off your sense of style. A scrip...

Design
Elegant Organic Logo Design - Tips and Ideas
Sometimes we need a break to give our feelings the attention they deserve. Get some quality time, bu...

Tutorials
Create a DIY Valentine's Day Card
Kittl is a powerful, yet easy to use, online design tool that anyone can use for FREE. And what bett...
