Templates
Tools
Learn
Company
Home
Blog
Tutorials
Create a Gaming Logo With Kittl | Design Tutorial
Create a Gaming Logo With Kittl | Design Tutorial
Gaming continues to grow in popularity every year, as evident by the growth and expansion of the esports circuit. Those events grow bigger every year, which should tell us that gaming isn’t going away anytime soon. Whether you like to stream online, participate in tournaments, or just like to watch other gamers do their thing, you’ll often see a smart little design element come into play:
Gamer tags
A gamer tag is a little logo that players in the public eye use to brand themselves and grab the attention of other players. These tags are so cool that you may be thinking to yourself that you’d like to create one of your own. If you’re starting a Twitch or YouTube channel, or you want to get involved in esports, a good logo helps you stand out from the crowd.
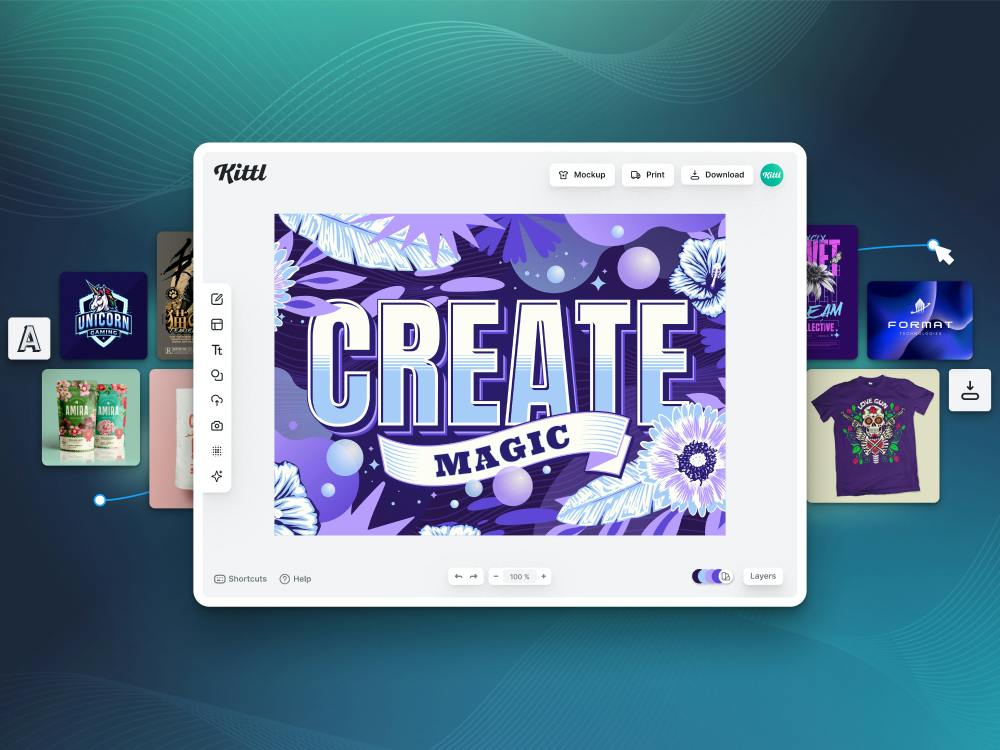
If that sounds like you, Kittl makes it super easy to create a gaming logo. The graphic design software has several world-class illustrations designed for the gaming niche. This tutorial will teach you how to use these designs to create your own logo. But before we get started, make sure you sign up for Kittl so you can follow along. It’s free to sign up and you’ll be able to start getting a grip on the software in no time.
Step 1 – Select a Gaming Mascot
Open Kittl and check out the navigation bar on the left-hand side. Highlight the center icon and you should see several options appear. Select “Elements” and you’ll see various design elements built into Kittl that you can use in your design.
Select “Gaming Mascots” and you’ll pull up a selection of nearly 90 logos that Kittl offers for free. Some of these logos even have banners attached to them ready for you to insert your gamertag or team name.

Select an illustration you like. This tutorial uses the Elven illustration but you have a choice of several. You should see the element get added to your Kittl project directly in the center. Make the illustration a little larger and hit the T button to insert a text box underneath the element.
Step 2 – Choose a Text Font
With your text in place, it’s time to select a font. With your textbox highlighted, check out the “Text Settings” menu on the right-hand side of your screen. Directly under the “Text Settings” header, you should see a little box containing your current font.
Click that box and a selection of typeface options appear. Choose the font you want to use and type “Dark” into the textbox.

Pro Tip: Click the “Other” tab in the Typeface menu and you’ll see some really sharp and futuristic fonts that are perfect for gaming logos.
Step 3 – Add a 3D Text Shadow
Now that you have your text, it’s time to add a few effects. With your textbox still selected, click the “A+” icon at the top of the right-hand menu. That takes you to the “Effects” screen. We now want to add some cool shading so click “Block Shadow” in the row under “Shading.”

Do the following:
- Raise the Outline Width to 10
- Bump the Offset up to 16
- Change the element’s angle to -33 degrees
Now, tap the color settings to alter your font color so it’s more in line with the design. Copy your “Dark” textbox and paste a new textbox directly under the original. Change the text in this second box to read “Elven” and choose a different font while upping its size. We want the “Elven” to stand out a little more.
Copy and paste one of your textbox, delete the text inside the copied box, and press the dash key on your keyboard to create a hyphen. Move the textbox containing the hyphen under the “EN” at the end of the textbook containing the word “Elven” and resize it so the hyphen underlines the “EN.” The hyphen acts as a frame for a word that we’re about to add.

Step 4 – Fill in the Gaps
You may notice you have a few little gaps in your text. For example, using the hyphen technique we mentioned in the Pro Tip creates a gap between your hyphen and the letter “N”. That’s an easy fix as you just need to go back into “Elements” and select a basic shape. Drag the shape over the gap, resize it, and change its color to match your text.

Next, copy one of your textboxes, type in “Gaming,” and reduce it in size. Remove the effects by heading into the “Effects” menu and clicking the “Block Shadow” button. Drag and drop the textbox into your hyphen and you get a cool frame for the word “Gaming.”

Step 5 – Add Some Badge Shapes
Now we want a background for our elf, which we can make with some basic shapes. Head to “Elements” in the left-hand menu and navigate to “Basic Shapes.” Click “Show All” and navigate to the shield shape.
Click the shield and position the element in front of your elf. Change the shield's coloring and add any additional effects that you like. We went with some flame effects, which we thought looked cool with our elf and shield.

Step 6 – Make the Logo Stand Out
Next, we added a few flourishes to our logo. Duplicate your shield and send it to the back of the logo. With the duplicated shield highlighted, head into “Object Settings” and change the shape’s color to a different shade of green than the one used for your main shield. That gives you a cool border. Increase the “Border Weight” until you’re happy with how it looks.

You can widen the borders on any shape in the logo. We did it for our elf by increasing the “Border Weight” around that shape and playing with the colors until we found something that worked. Tweak the sizes of your elements until they look how you want them to and you should end up with something like this:

Step 7 – Add a Halo Effect
Change your background color to black and type “Rays” into the “Add Elements” search box. Set the ray element to the background to create a cool halo effect. We also added a few flame elements that go behind the elf’s hands, giving them a nice little effect in the process.

Step 8 – Create a Glowing Effect
Type “Gradient” into the “Add Elements” search box and click on the circle with a pinprick of light in the center. Place the circle in the center of your logo and head to Object Settings. Change both of the color orbs to yellow. Then, head into the first orb color and pull “Opacity/Alpha” down to 0 to create a transparent gradient effect. Move the orb so it’s behind the elf layer and you get a glowing effect.

Step 9 – Group the Image
Drag your cursor over all the elements you’ve added to your project. Press “Command + G” if you’re a Mac user or “Ctrl + G” for Windows users to group all of the elements.

Step 10 – Create a Promo Effect
Head back into “Add Elements” and select the square image at the top of the right-hand column. Place that image over the center of your logo. Head to “Object Settings” and change the first color orb to a darker green than the one used in the elf logo. Head into the second color orb, change it to the same green as the first, and lower the “Opacity/Alpha” to 0%.
Rotate the gradient block so it looks like a diamond and extend it to run diagonally across the project image. You’ll get a nice little diagonal gradient effect.

Step 11 – Adding a Little Grunge
Last up, we’ll add a little bit of texture and grunge to the logo. Copy your badge, increase its size, and set it to the background. Lower the opacity to 50% and you get a semi-transparent replica of your badge for your background.

Next, select “Background” from your layers and select the bottom icon from the left-hand menu. Choose a texture and turn the opacity down to about 15% to get a nice textured look to finish the logo. And with that last touch, we have our completed gaming logo.

Once you have your completed design, you can edit or customize it at any time in Kittl. Simply open the image up and Kittl’s suite of customization options is available for you to tinker with your finished design however you wish.
Related articles

Tutorials
Detailed Illustrations to Outlines
Detailed illustrations are great for many things, but sometimes you just need a flat outlined design...

Tutorials
Easily Make Badge Logo Layouts With Kittl | Design Tutorial
Badges can make everything more interesting. Whether it’s for a hat, shirt, or backpack, this simple...

Tutorials
How to Make Y2K Logos Easily | Design Tutorial
When we talk about the Y2K style, we’re talking about the type of design that goes back to the early...
